Fronius Inverters Shut Down and Restart
Restarting your inverter can help clear communication issues, WiFi disconnections, or minor faults. Always follow the correct shutdown and start-up sequence to protect your system and ensure safety.
Before you start
- Make sure it’s daylight, as the inverter needs solar input from the panels to start up.
- If your system includes a battery or backup unit, check that there are no ongoing backup operations before restarting.
- Never restart during a lightning storm or when system components appear damaged.
Fronius GEN24 and GEN24 Plus Series
-
Switch off the AC power
Use the AC isolator or main switch for the inverter near your switchboard.
Turn it OFF.
-
Switch off the DC isolator
Located under the inverter or beside it. Turn it OFF.
-
Wait 1–2 minutes
The LED ring and display will go dark when fully powered down.
-
Switch the DC isolator back ON
Turn the DC switch ON and wait a few seconds.
-
Switch the AC isolator back ON
Turn the AC switch ON.
-
Allow inverter to restart
The LEDs will flash during startup.
A solid green light indicates normal operation, and a solid blue light confirms WiFi is connected
-
Check Solar.web monitoring
Confirm that the system data is updating normally.
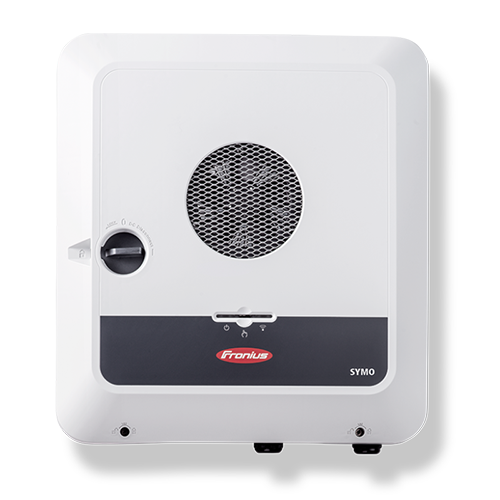
Fronius Primo/Symo Series
-
Turn off the AC supply
Locate the Solar Inverter Main Switch or AC isolator (often near the switchboard).
Switch it OFF.
-
Turn off the DC isolator(s)
Found next to or below the inverter, usually labelled PV Array DC Isolator.
Switch it OFF.
-
Wait 1–2 minutes
Allow the inverter’s display and lights to turn off completely.
-
Turn the DC isolator(s) back ON
Switch the DC isolator(s) to the ON position.
-
Turn the AC supply back ON
Switch the Solar Inverter Main Switch or AC isolator ON again.
-
Wait for the inverter to boot up
The display should show normal startup messages and a green power LED once generating.
If applicable, check for a solid blue WiFi light (connected).